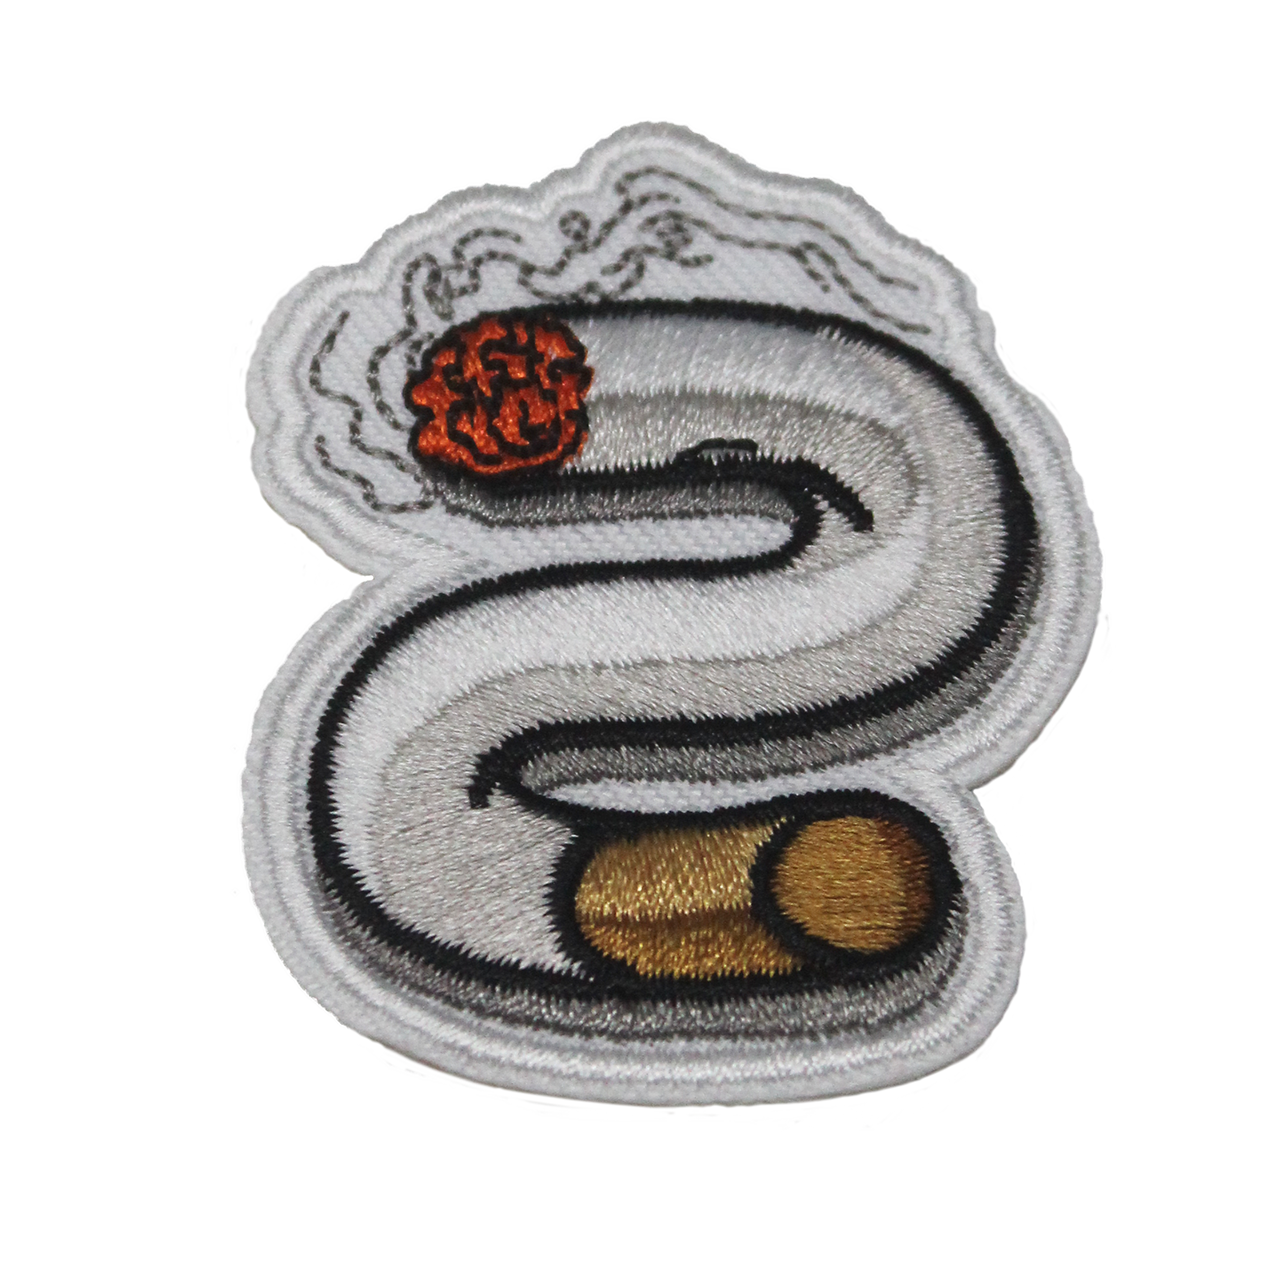
CIGAR PATCH

5

100 in stock

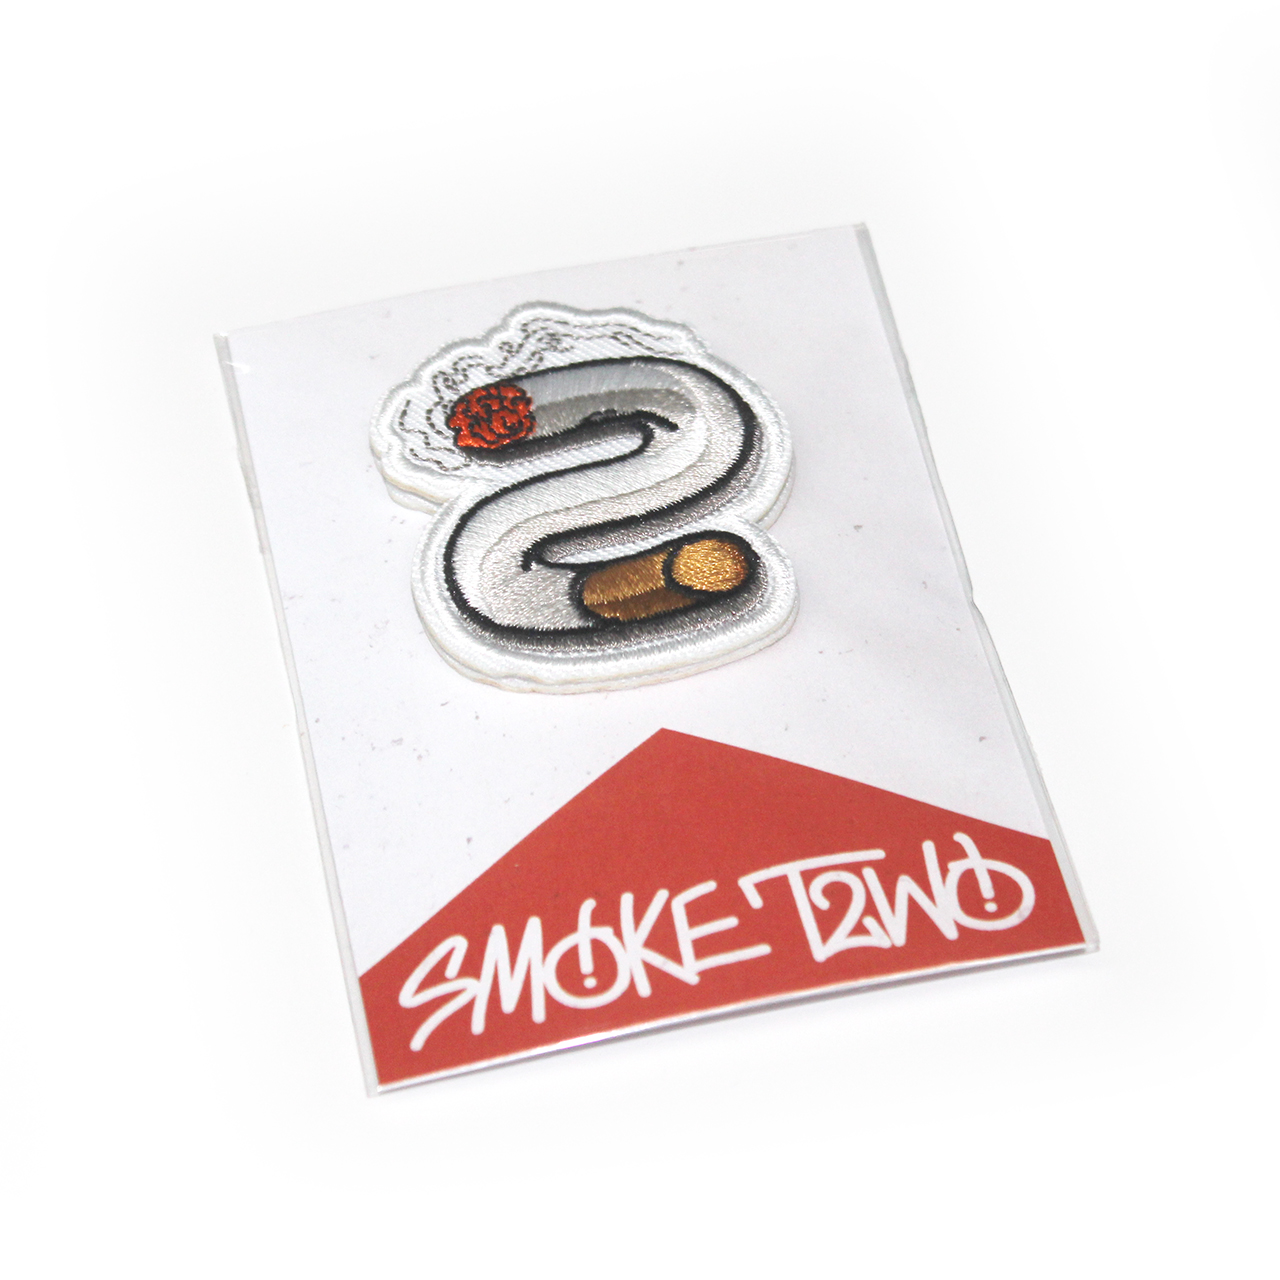
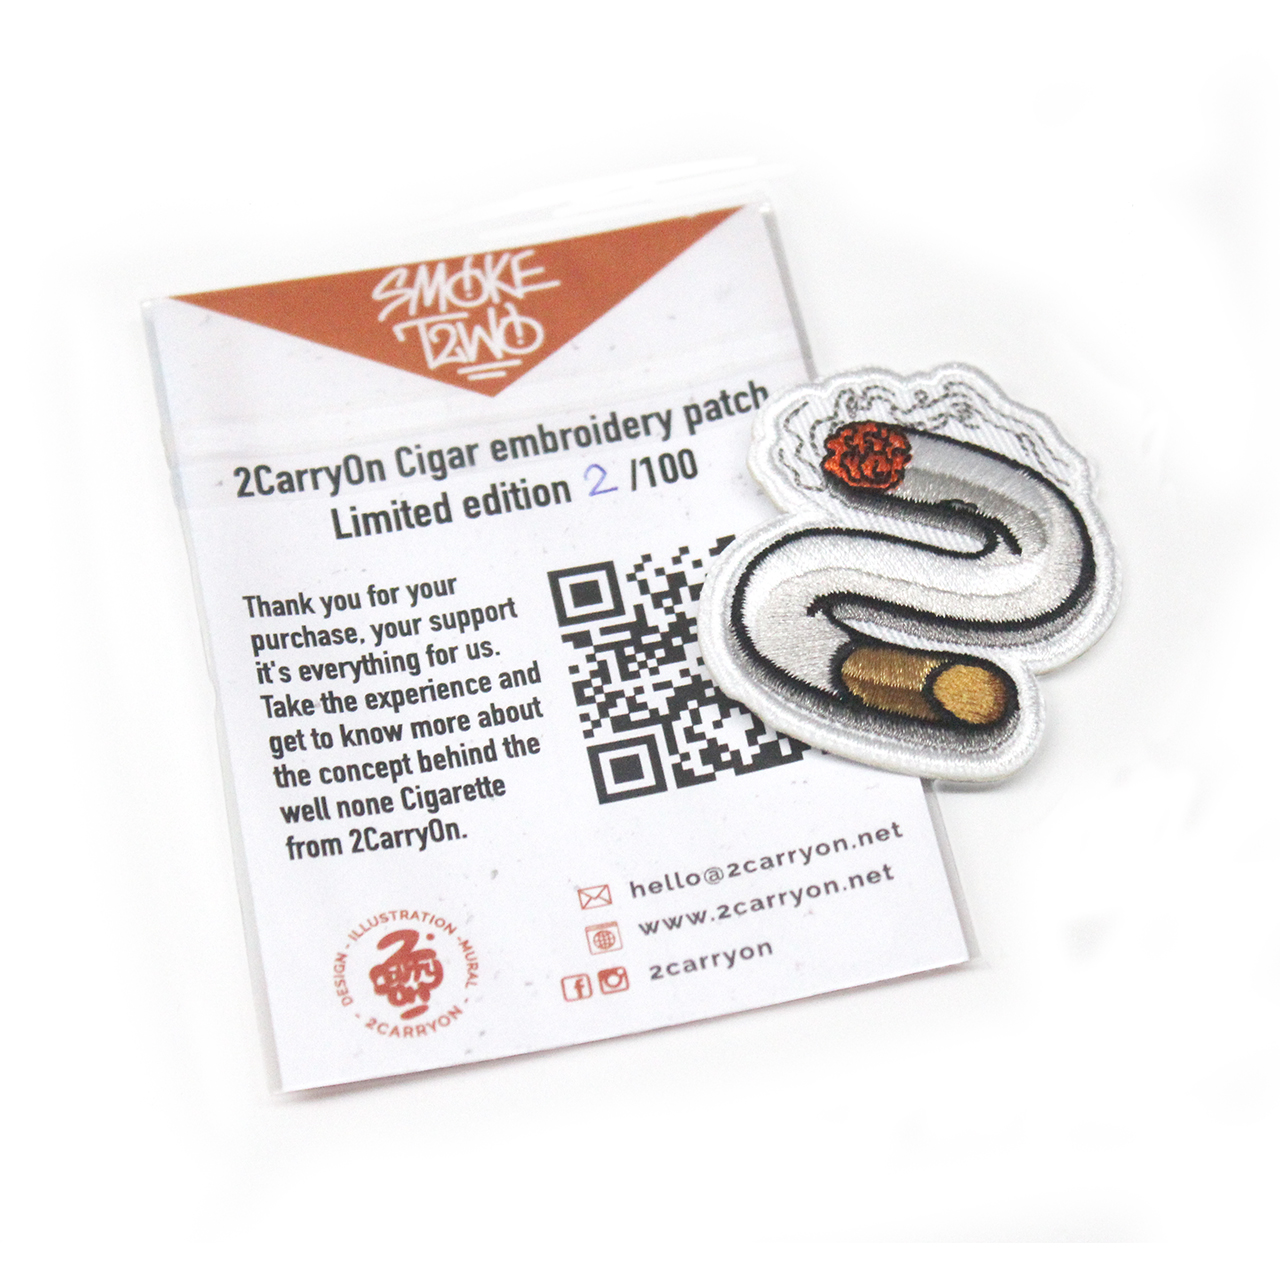
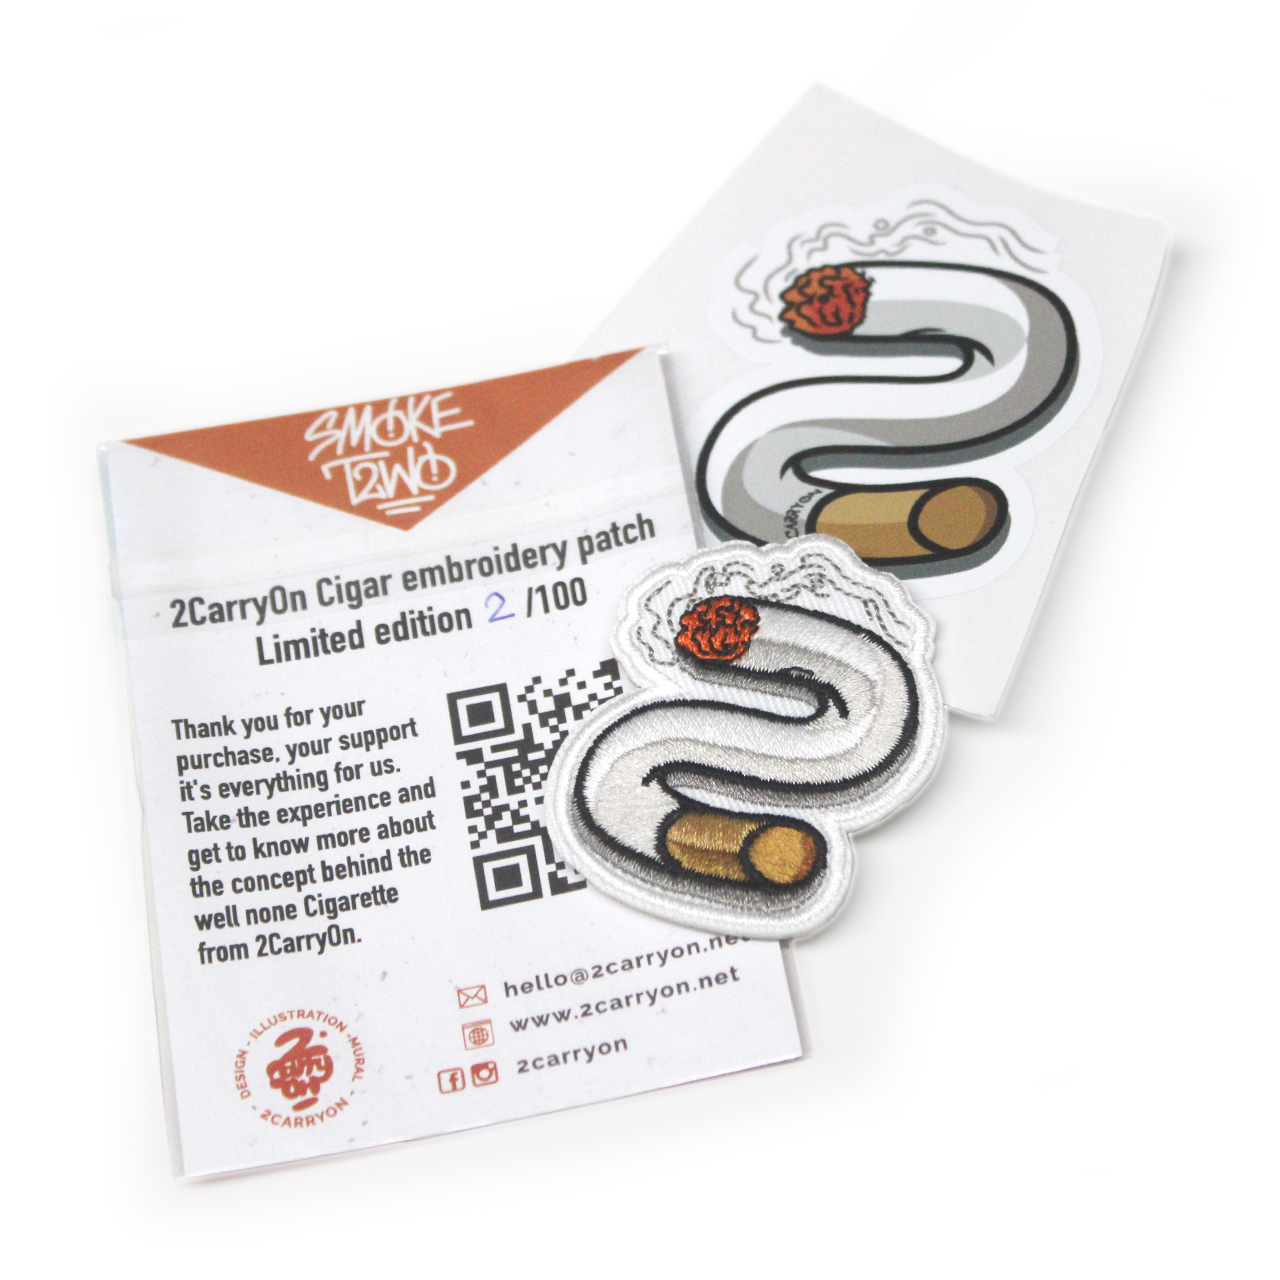
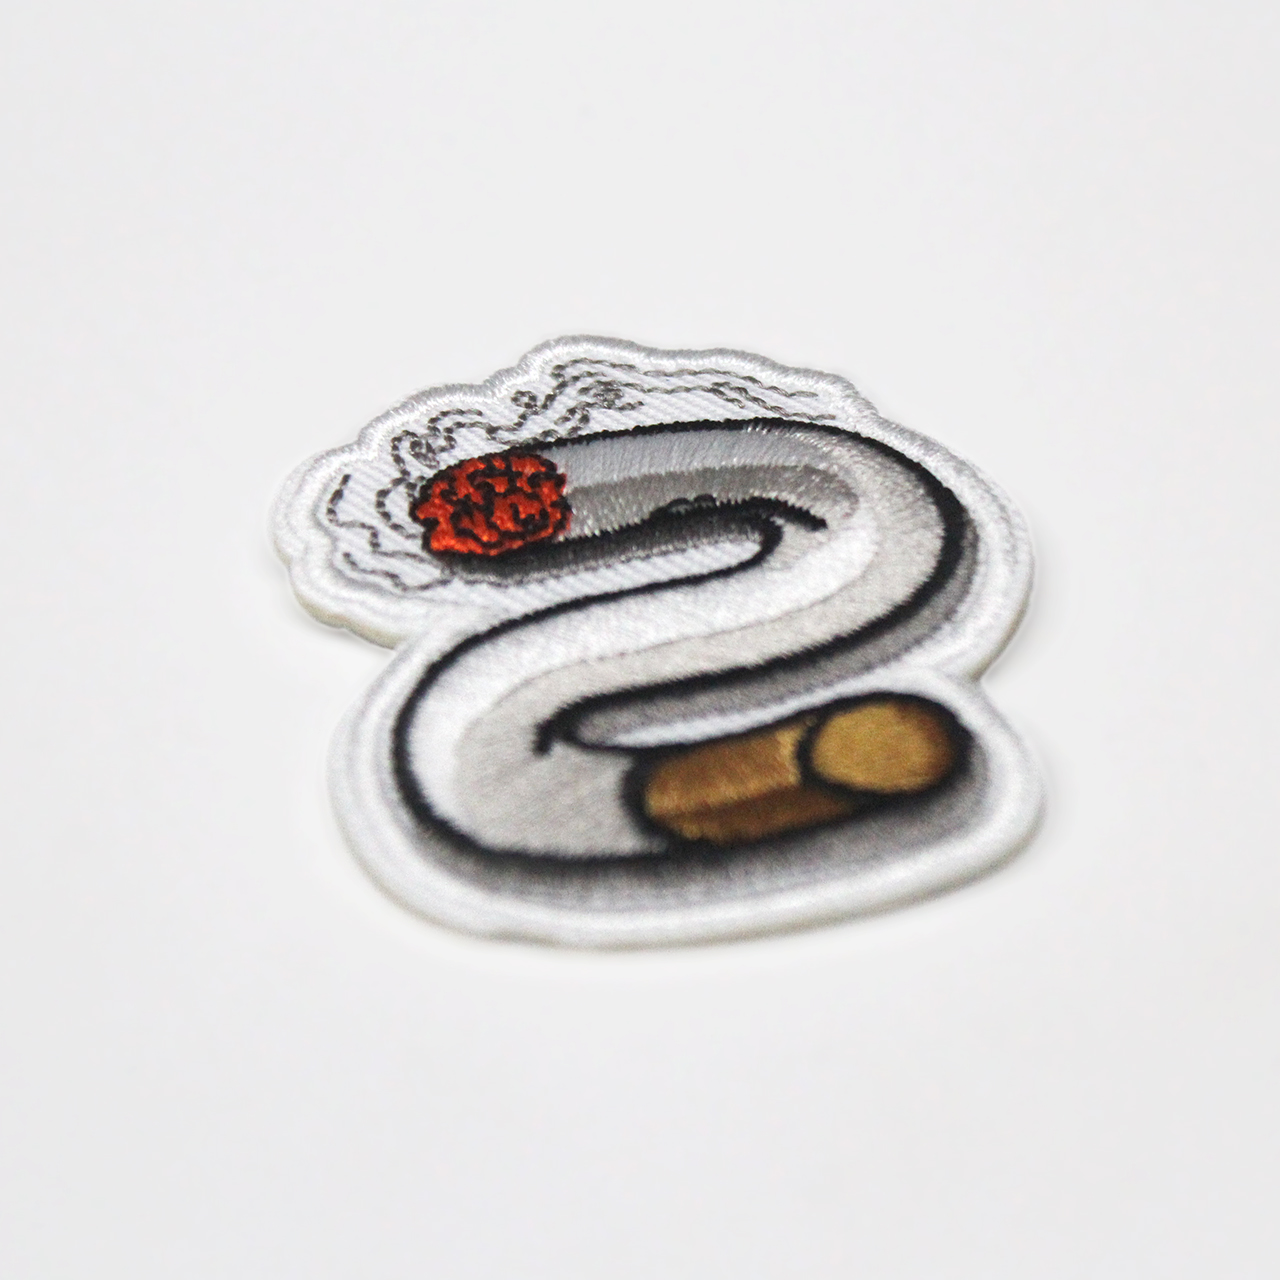
2CarryOn well none “Cigar” is one of the brand images,in the way of way stickers, which are proliferating in urban habitats, which act as a visual stimulus, drawing attention to cigarettes. Inspired by the graffiti culture, started to make the first stickers in 2013, since then 2CarryOn Cigar have been applied in different supports, becoming an urban icon, through the sticker, throw-ups and merchandising.
Always inspiring to continue… Smoke. Keep smoking. Smoke one. Smoke two. But pay attention to the cigarette. The world is ours, and we must preserve it. Change begins with action.

  • Limited edition of 100 units
  • 100% embroidered patch
  • Iron-on backing extended to border
  • 2 inches size
  • Base material – polyester blend twill
  • Border edge – embroidered border
  • Produced by TheStudio

We always work to increase the quality of our products, that’s why we decided to keep control of all the stages and stay a small independent artist-brand.

HOW TO IRON ON A PATCH

1. Examine the fabric of your clothing. Fabrics like denim and cotton provide the best base for iron-on patches. As a general rule the fabric you choose should be at least as heavy as the patch.

2. Think about design and placement. Before you heat up the iron, lay out your jacket, sash or backpack and decided where exactly you want the patch to be placed.

3. Place the patch in the position you chose. The adhesive side should be flat against the base fabric. Make sure that the patch isn’t crooked.

4. Heat up the iron. Turn it to the hottest setting your fabric can tolerate. Make sure the “steam” option is turned off, and that your iron isn’t full of water.

5. Place a thin towel over the patch. Take care not to disturb the position of the patch. The towel will protect the patch itself and the surrounding fabric.

6. Position the heated iron over the patch and press down. Hold the iron there for about 15 seconds. Apply as much pressure as you can by pressing down firmly.

7. Remove the iron and allow the patch to to cool. Lift the towel and check to see whether the patch is fixed on securely by gently rubbing at the edge with a finger, trying to lift it. If it lifts up a bit, replace the towel and press it with the iron again for 10 seconds.

SHIPPING DETAILS

-The product are shipped by registered mail.
-Please allow up to 30 days for delivery. -The majority of shipments will take between 4 and 10 working days to arrive, counting from the date when the order is dispatched (not from the time when you placed the order).
-Notice of dispatch will be sent to you by a member of our staff.
-Orders will be processed and dispatched on a first-come, first-served basis. This might take up to a few days, depending on the number of orders we face at the time. We’ll do our best to make it as swift as possible.
-For further info, please read the rest of our Terms & Conditions.

Weight 0.01 kg
SKU: cigar-patch Categories: , Tags: , ,

Description

2CarryOn well none “Cigar” is one of the brand images,in the way of way stickers, which are proliferating in urban habitats, which act as a visual stimulus, drawing attention to cigarettes. Inspired by the graffiti culture, started to make the first stickers in 2013, since then 2CarryOn Cigar have been applied in different supports, becoming an urban icon, through the sticker, throw-ups and merchandising.
Always inspiring to continue… Smoke. Keep smoking. Smoke one. Smoke two. But pay attention to the cigarette. The world is ours, and we must preserve it. Change begins with action.

  • Limited edition of 100 units
  • 100% embroidered patch
  • Iron-on backing extended to border
  • 2 inches size
  • Base material – polyester blend twill
  • Border edge – embroidered border
  • Produced by TheStudio

We always work to increase the quality of our products, that’s why we decided to keep control of all the stages and stay a small independent artist-brand.

HOW TO IRON ON A PATCH

1. Examine the fabric of your clothing. Fabrics like denim and cotton provide the best base for iron-on patches. As a general rule the fabric you choose should be at least as heavy as the patch.

2. Think about design and placement. Before you heat up the iron, lay out your jacket, sash or backpack and decided where exactly you want the patch to be placed.

3. Place the patch in the position you chose. The adhesive side should be flat against the base fabric. Make sure that the patch isn’t crooked.

4. Heat up the iron. Turn it to the hottest setting your fabric can tolerate. Make sure the “steam” option is turned off, and that your iron isn’t full of water.

5. Place a thin towel over the patch. Take care not to disturb the position of the patch. The towel will protect the patch itself and the surrounding fabric.

6. Position the heated iron over the patch and press down. Hold the iron there for about 15 seconds. Apply as much pressure as you can by pressing down firmly.

7. Remove the iron and allow the patch to to cool. Lift the towel and check to see whether the patch is fixed on securely by gently rubbing at the edge with a finger, trying to lift it. If it lifts up a bit, replace the towel and press it with the iron again for 10 seconds.

SHIPPING DETAILS

-The product are shipped by registered mail.
-Please allow up to 30 days for delivery. -The majority of shipments will take between 4 and 10 working days to arrive, counting from the date when the order is dispatched (not from the time when you placed the order).
-Notice of dispatch will be sent to you by a member of our staff.
-Orders will be processed and dispatched on a first-come, first-served basis. This might take up to a few days, depending on the number of orders we face at the time. We’ll do our best to make it as swift as possible.
-For further info, please read the rest of our Terms & Conditions.
Additional information

Weight 0.01 kg
@